It’s true I am not much of a DIY’er. If you’ve been following the blog, you already know they don’t pop up too often. But when Ryan suggested we make our own outdoor furniture for our massive patio, I was totally on board! I wanted something that could fit the space, and could provide us with both a better place to relax AND entertain (we love hosting people on our deck in the summer!). So we made a plan and within a day had our DIY outdoor sectional completed. Here’s how you can copy us: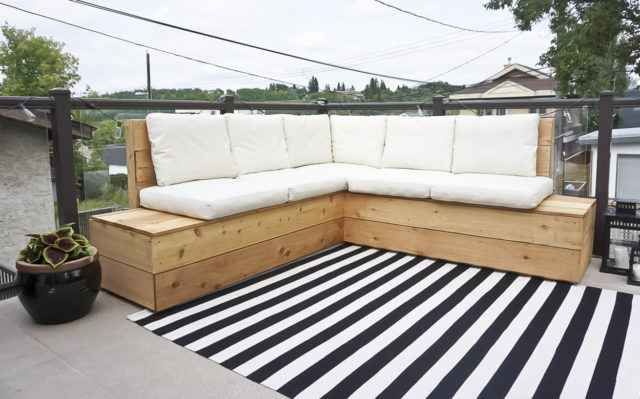
Determine your layout
I decided to buy the cushions FIRST! That way we could create the sectional around them rather than scrounging to find pillows that fit or having to spend a fortune on custom cushions (I’m so not a sewer!). We laid the cushions out on the deck and measured from there. I would suggest taping down your layout if you don’t have cushions to start. That way you can get a sense of scale and can also measure it properly.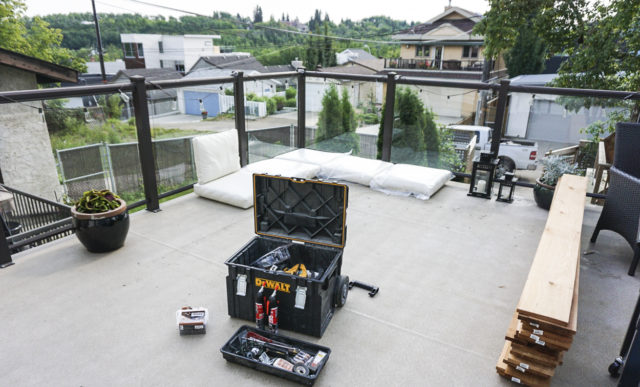
Make a Plan
Ryan and I had a good idea of what we wanted to create but we still took the time to draw it out on paper. Being on the same page is important since I’m more of the dreamer and he’s the doer! At this stage, we decided to design the sectional with an extra foot on either side so people would have more places to set down drinks. Built in side tables if you will!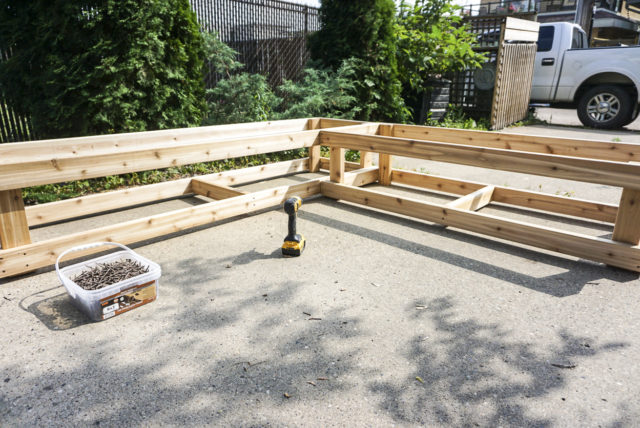
Frame it Out
Ok so hopefully I don’t have to tell you to measure twice and cut once 🙂 We used regular ‘ol 2 by 4’s for the frame from Home Depot.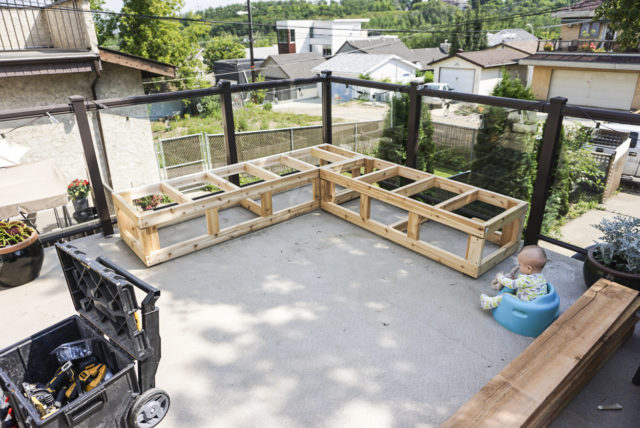
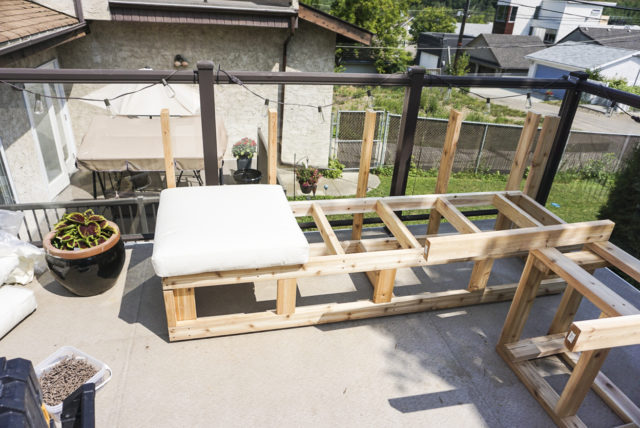
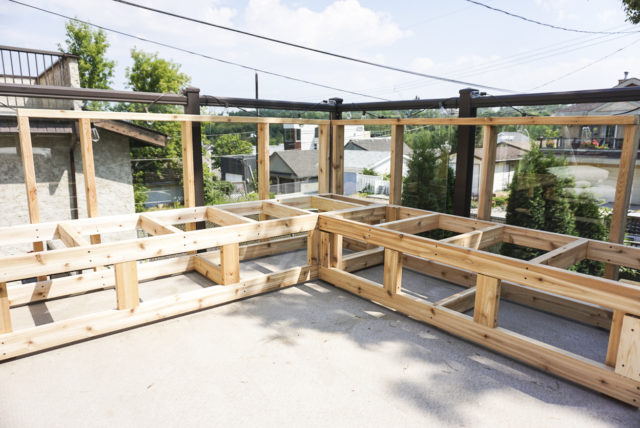
Cover it Up
The type of wood you choose to cover your frame will really play into the style and design of the piece. We grabbed cedar planks (again from Home Depot) that measure by about 7″ wide, but there’s no reason you couldn’t opt for recycled barn board or something else. How we ended up with the height is pretty simple – we wanted 3 full planks for the back rest, and 2 full planks for the front of the seat so it looked clean and streamlined. We also didn’t set the cedar planks right on the floor – that way when it rains, the water won’t pool and alter the wood on the bottom.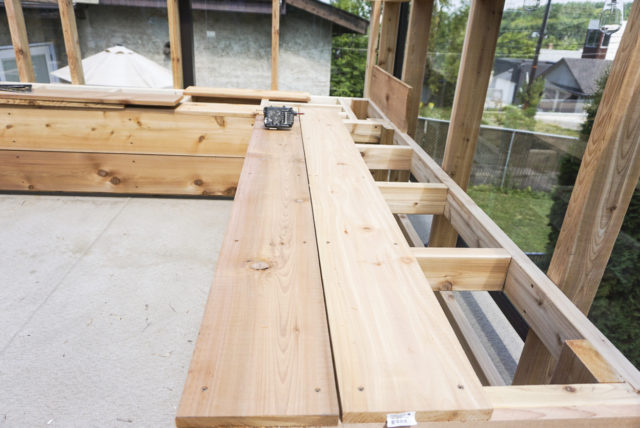
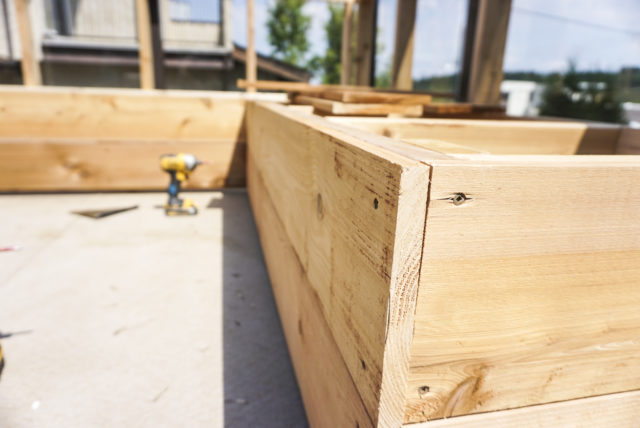
Think About The Details
Since you’ll be able to see your nail holes, keep them symmetrical using a square, and of course, make sure not to let any nails hit the patio floor. As for the finish, we chose to leave it au natural, but you could definitely give the planks a sand and then stain the sectional whatever tone you’d like! Or even paint it! I love the look of new cedar but, who knows, next year I might give it a refresh and add a stain.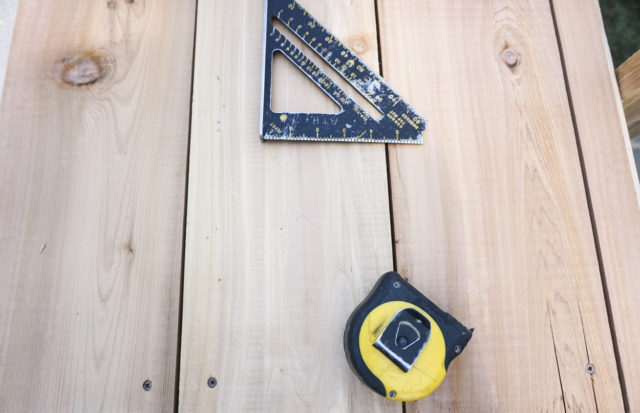
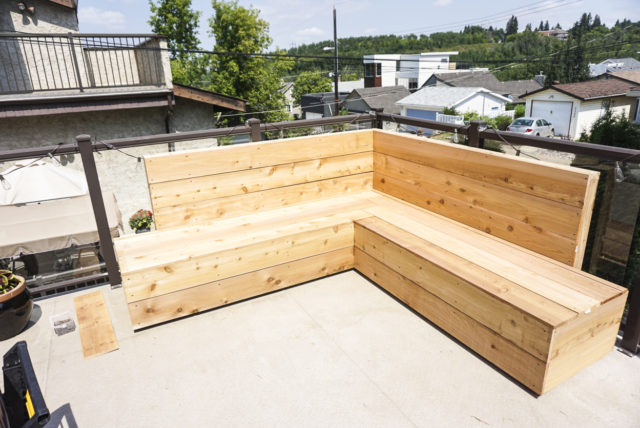
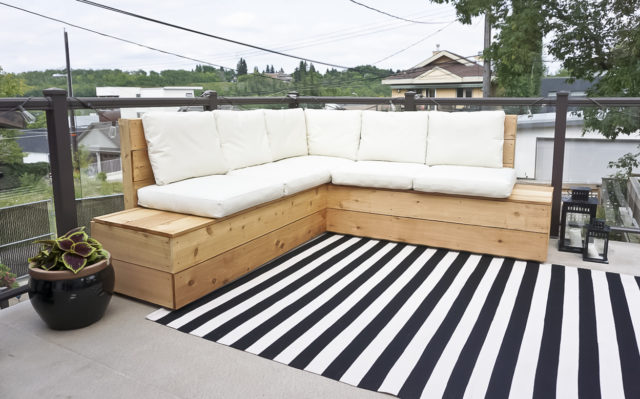 What do you think of our DIY outdoor sectional? Could you attempt this yourself?
Check back soon when I reveal the entire patio transformation! We finally have an outdoor space we can use and I am beyond thrilled! Bring on the sunshine!!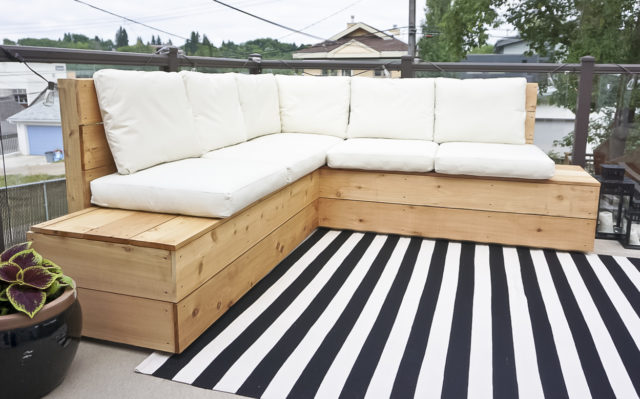
This post was made in partnership with Home Depot. As always, all thoughts and creations are my own! Thank you for continuing to support the blog and the brands that work alongside me!
Love this looks I was wondering if you knew approx what it ended up costing in the end? I have been looking at store bought but a lot seem to be higher then I am looking to pay. This looks like a great DIY but sometimes my DIY’s turn out to be more time and money spent.
I can totally relate. The lumber and supplies were around 300.00 because we opted for the nicer cedar. The cushions were 25.00 each for the top cushions and I think 40.00 for the lower ones.
This looks fantastic, and more importantly, very doable. What a great way to get a nice patio set that’s actually affordable…outdoor furniture is always so expensive.
I know! I can’t believe how expensive it can be!! Thanks Sarah!
I can’t seem to find a link to the seat cushions you used. Do you mind telling us where you got them? Thanks!
Ikea! 🙂